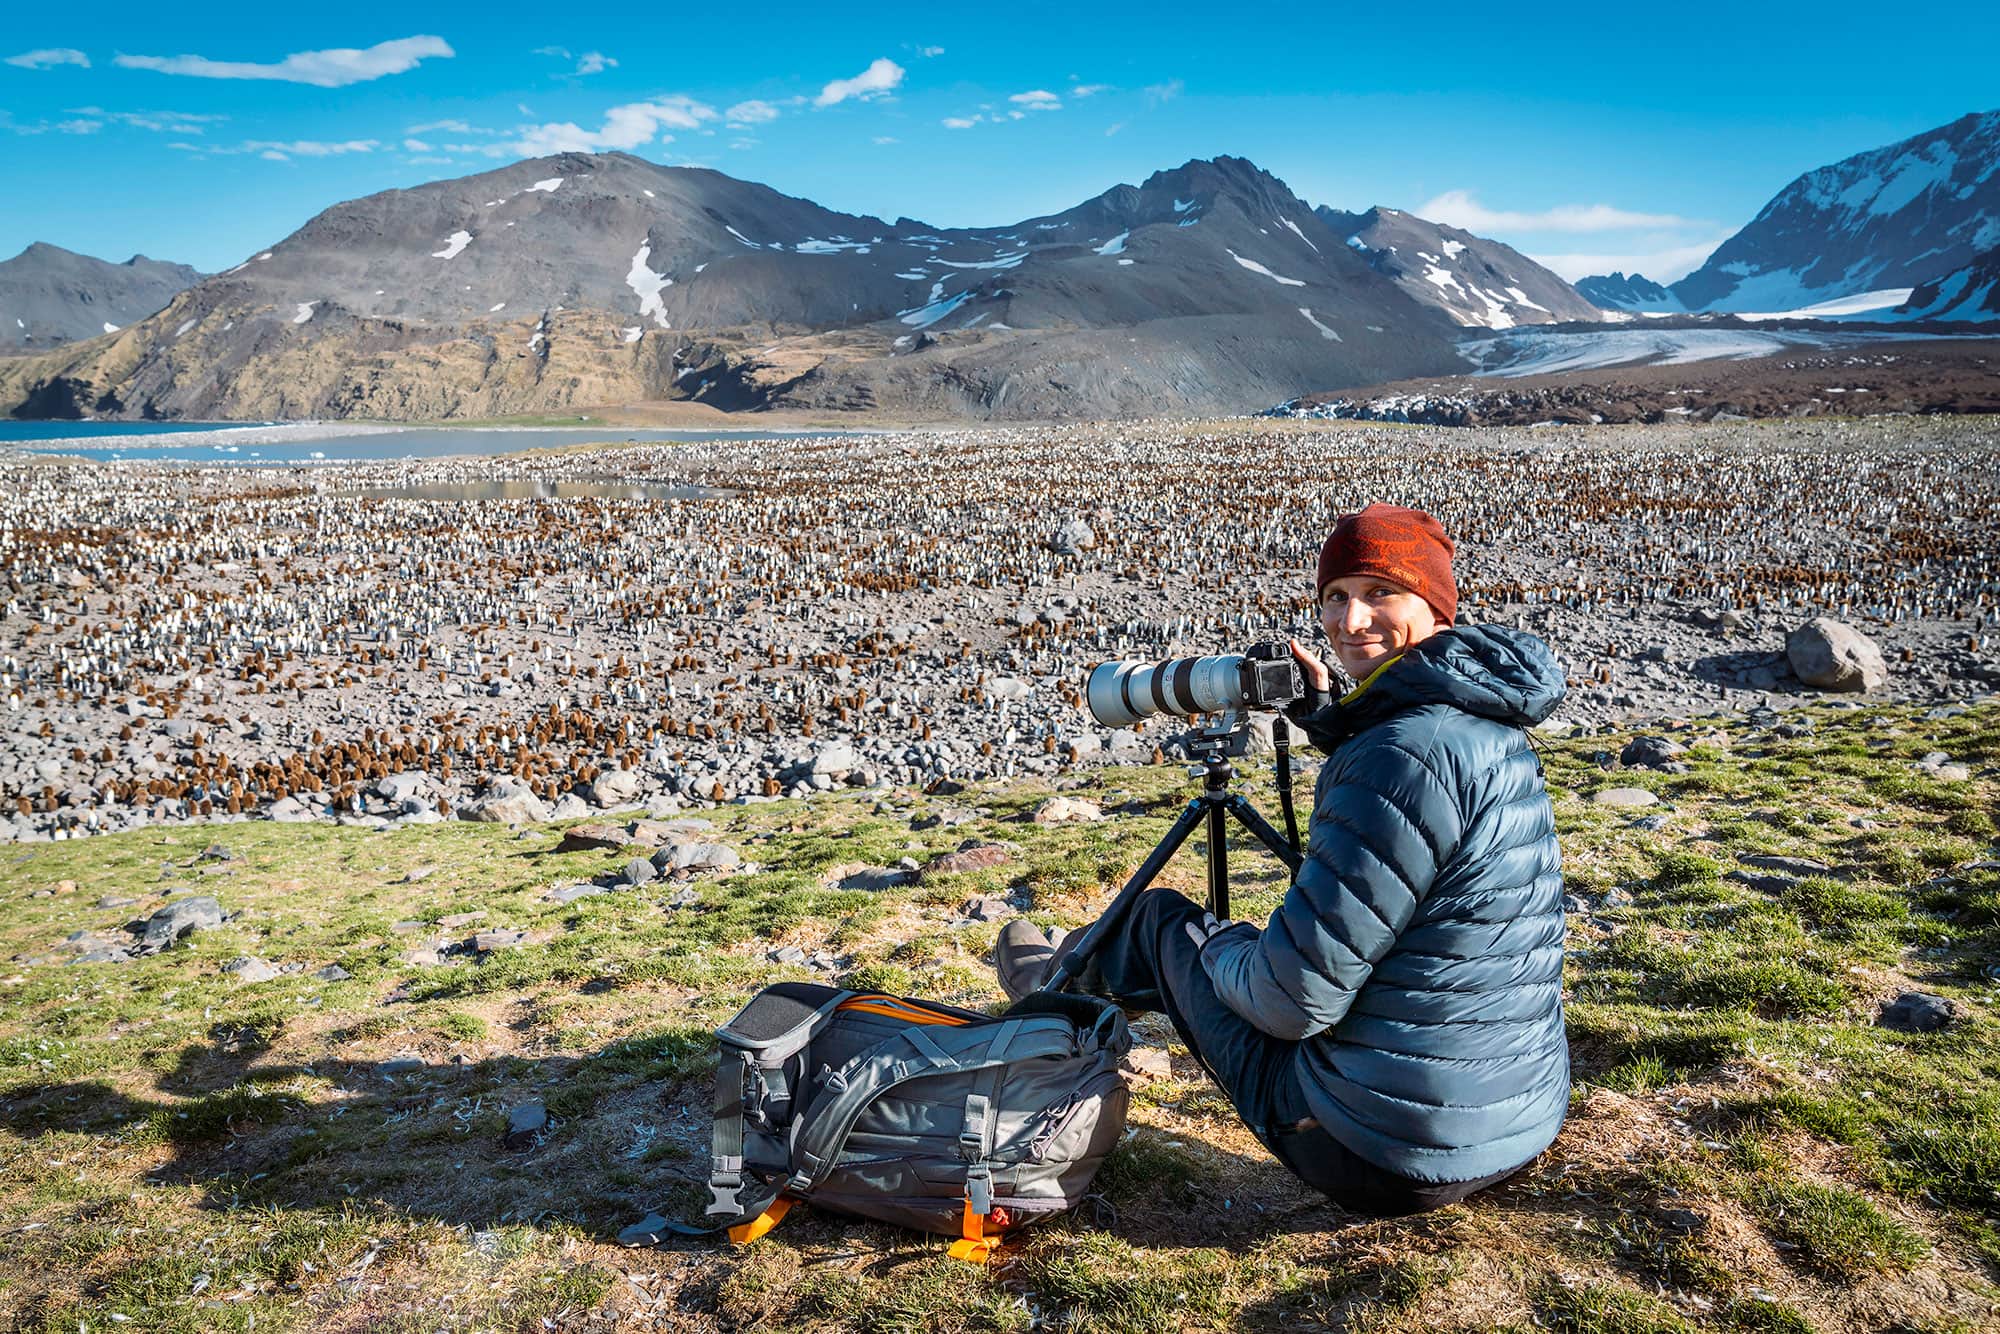
Travel photography is more than just snapping pictures of landmarks—it’s about capturing the soul of a place, its people, and your unique experience. Whether you’re wandering through bustling markets in Marrakech or hiking the serene trails of Patagonia, these 20 tips will help you elevate your photos from ordinary to unforgettable. As someone who’s lugged a camera through dusty deserts and rainy jungles, I’ve learned (sometimes the hard way) what works and what doesn’t. Let’s dive into practical, beginner-friendly advice to make your travel photos pop, no matter your skill level or gear.
Why Travel Photography Matters
Travel photos are your personal time machine, preserving memories and stories to share with others. They can inspire, document cultures, or even kickstart a creative career. These tips blend technical know-how with creative insights to help you capture images that stand out. My first trip abroad with a camera taught me that a good photo isn’t about fancy equipment—it’s about seeing the world with intention.
The Power of a Great Travel Photo
A stunning travel photo can transport viewers to another place, evoke emotions, or spark wanderlust. It’s a blend of light, composition, and storytelling. Research shows that visual storytelling, like photography, engages audiences more than text alone. I still smile at a blurry photo from my first trip to Italy—it’s not perfect, but it captures the chaos of a Roman street market perfectly.
1. Master the Rule of Thirds
The rule of thirds divides your frame into a 3×3 grid, placing key elements off-center for a balanced, dynamic shot. It’s a simple trick that instantly improves composition. I used to center everything until a photographer friend showed me how off-center framing made my photos more engaging.
How to Apply It
Imagine a tic-tac-toe grid on your camera screen. Place your subject—like a mountain peak or a person—along the lines or at their intersections. Most cameras and smartphones have a grid overlay option to guide you. Practice this in markets or landscapes for instant impact.
2. Chase the Golden Hour
The golden hour—shortly after sunrise or before sunset—bathes everything in soft, warm light. It’s the best time for vibrant, flattering photos. I once woke up at 4 a.m. to shoot a temple in Thailand at sunrise, and the golden glow made every sleepy minute worth it.
Why It’s Worth the Early Wake-Up
Golden hour light reduces harsh shadows and enhances colors, making landscapes and portraits glow. Check sunrise/sunset times on apps like PhotoPills. Plan your shoots around these windows for breathtaking results.
3. Use Leading Lines
Leading lines—like roads, fences, or rivers—draw the viewer’s eye into your photo, creating depth. They guide attention to your subject naturally. I love using cobblestone paths in old European towns to lead eyes toward a distant church or castle.
Where to Find Them
Look for natural or man-made lines: bridges, railings, or even a row of trees. Position them to guide the eye toward your focal point, like a monument or person. Experiment with angles to make lines pop.
4. Focus on Foreground and Background
A strong photo often balances foreground and background elements to create depth. Think of a flower in the foreground with mountains behind it. My early photos were flat until I started including foreground objects to add context and scale.
How to Nail It
Use a wide aperture (low f-stop, like f/2.8) to blur the background or a narrow aperture (high f-stop, like f/11) for sharpness throughout. Frame your shot with something close, like a tree branch, to enhance the scene’s depth.
5. Capture Candid Moments
Candid shots of people laughing, working, or interacting reveal the heart of a place. They feel authentic and alive. I once caught a vendor in Vietnam mid-laugh, and it’s still one of my favorite shots—pure joy in action.
Tips for Candid Photography
Blend in, observe quietly, and avoid drawing attention. Use a zoom lens or your phone to shoot from a distance. Always ask permission if you plan to share portraits, respecting local customs.
6. Experiment with Angles
Unusual angles—like shooting from ground level or above—make familiar scenes feel fresh. A low angle can make a monument look grander. I got my best shot of the Eiffel Tower by lying on the grass, shooting upward.
How to Get Creative
Crouch, climb, or tilt your camera for unique perspectives. Try shooting through doorways or windows for a framed effect. Don’t be afraid to look silly—great shots often come from bold moves.
7. Simplify Your Composition
Cluttered photos confuse viewers. Simplify by focusing on one or two key elements, like a single tree against a sunset. I learned this after a chaotic market photo where nothing stood out—less is often more.
Decluttering Tips
Use a tight crop to remove distractions. Move closer to your subject or adjust your angle to exclude background noise. Aim for clean, intentional compositions.
8. Use Natural Frames
Natural frames—like arches, trees, or windows—highlight your subject and add depth. They create a “picture within a picture” effect. I framed a Moroccan riad through an arched doorway, and it became a gallery favorite.
Where to Spot Frames
Look for doorways, branches, or even crowds that form a frame around your subject. Position your subject in the center of the frame for maximum impact. This works great for portraits or landscapes.
9. Adjust Exposure for Mood
Exposure controls how bright or dark your photo is. Underexposing creates dramatic, moody shots; overexposing gives a dreamy vibe. I underexposed a stormy beach photo in Iceland, and it captured the raw, wild atmosphere perfectly.
How to Tweak Exposure
Use your camera’s exposure compensation (+/-) to adjust brightness. For smartphones, tap the screen to adjust focus and slide to tweak exposure. Experiment to match the mood of the scene.
10. Shoot in RAW Format
RAW files capture more data than JPEGs, giving you flexibility to edit colors, shadows, and highlights later. It’s a game-changer for post-processing. I switched to RAW in New Zealand, and my landscape edits became so much richer.
Why RAW Matters
RAW files preserve details, making it easier to fix overexposed skies or dark shadows. Use software like Adobe Lightroom for editing. Note: RAW takes more storage, so bring extra memory cards.
11. Pack Light but Smart
Travel photography requires gear that’s portable yet versatile. A lightweight camera and a couple of lenses can cover most scenarios. I learned this after hauling a heavy tripod through Peru—never again!
Essential Gear List
- Camera: A mirrorless camera like the Sony A7C or a DSLR like the Canon EOS Rebel.
- Lenses: A 24–70mm for versatility, a 50mm for portraits.
- Accessories: Extra batteries, memory cards, and a compact tripod.
Where to Buy: Check B&H Photo for reliable gear.
12. Use a Polarizing Filter
A polarizing filter reduces glare and boosts color saturation, especially for skies and water. It’s like sunglasses for your lens. I used one in Greece, and the Mediterranean blues looked unreal.
When to Use It
Attach a polarizer for daytime shots of landscapes or reflective surfaces. Rotate the filter to adjust the effect. They’re affordable and available at stores like Amazon.
13. Tell a Story with Your Photos
Great travel photos weave a narrative, like a series of a festival or a day in a village. Think about the story you want to tell. My photo series of a Tuscan vineyard—from grape picking to wine tasting—felt like a mini-movie.
Storytelling Tips
Shoot a sequence: wide shots for context, medium shots for action, close-ups for details. Group photos thematically in albums or posts to share your journey.
14. Edit Sparingly
Editing enhances photos but overdoing it can look unnatural. Adjust brightness, contrast, and colors subtly. My early edits were so heavy-handed that my sunsets looked like neon signs—less is more.
Best Editing Tools
Use apps like Lightroom or Snapseed for mobile editing. Tweak exposure, shadows, and saturation for natural results. Start with presets but customize them.
15. Include People for Scale
People in your shots add scale and relatability, especially in vast landscapes. A hiker in a mountain photo shows just how grand the scene is. I added a friend to a Grand Canyon shot, and it made the cliffs feel massive.
How to Do It Right
Place people subtly, not dominating the frame. Use candid moments or silhouettes for a natural feel. Always ask for consent if they’re identifiable.
16. Shoot in Manual Mode
Manual mode lets you control aperture, shutter speed, and ISO for creative freedom. It’s intimidating but empowering once mastered. I fumbled with manual mode in Japan, but nailing a night market shot felt like a victory.
Getting Started
Start with aperture priority (A/Av) to control depth of field, then experiment with shutter speed for motion. Practice in low-stakes settings before big trips.
17. Back Up Your Photos
Losing photos is heartbreaking—trust me, I lost a day’s worth in Morocco due to a faulty card. Back up daily to avoid disaster. Cloud storage and external drives are lifesavers.
Backup Options
- Cloud: Google Drive or Dropbox.
- Physical: Portable hard drives or SD cards.
- Tip: Upload nightly to avoid losing everything.
18. Respect Local Cultures
Photography can be intrusive, so always respect local customs and people. Some cultures frown on photographing faces or sacred sites. I once asked a monk in Laos for permission, and his smile made the shot even better.
How to Be Respectful
Research cultural norms before traveling. Ask for consent before photographing people. Avoid sacred or private spaces unless permitted.
19. Use Reflections Creatively
Reflections in water, mirrors, or windows add a dreamy, artistic touch. They double the visual impact of a scene. I shot a mountain reflected in a lake in Canada, and it’s one of my most-liked photos.
Finding Reflections
Look for puddles, lakes, or glass surfaces. Position your camera to capture both the subject and its reflection. Polarizers can enhance or reduce reflections as needed.
20. Practice Before You Travel
Hone your skills at home to avoid fumbling with settings on the road. Practice framing, lighting, and editing in familiar places. I spent weeks shooting local parks before my Iceland trip, and it made me confident in the field.
How to Practice
Shoot daily in different conditions—sunny, cloudy, or nighttime. Experiment with your camera’s settings. Join a local photography club or take an online course from Udemy.
Comparison: Smartphone vs. DSLR vs. Mirrorless
| Camera Type | Pros | Cons |
|---|---|---|
| Smartphone | Portable, easy to use, great for quick shots | Limited zoom, less control in low light |
| DSLR | High-quality images, versatile lenses | Heavy, bulky, expensive |
| Mirrorless | Compact, high quality, modern tech | Battery life can be short |
Best for: Smartphones suit casual travelers; DSLRs are for enthusiasts; mirrorless is ideal for serious photographers wanting portability.
People Also Ask (PAA)
What are the best travel photography tips for beginners?
Start with the rule of thirds, shoot during golden hour, and simplify your compositions. Practice with your camera or phone at home to build confidence. Apps like PhotoPills can help plan shoots.
How do I take better photos with my smartphone?
Use gridlines for composition, tap to adjust exposure, and shoot in HDR mode for balanced lighting. Clean your lens and use editing apps like Snapseed for polish.
What gear do I need for travel photography?
A lightweight camera (mirrorless or DSLR), a versatile lens (24–70mm), and a tripod are enough. Add a polarizing filter and extra memory cards. Shop at B&H Photo.
How can I protect my camera while traveling?
Use a padded camera bag, back up photos daily, and carry weather-resistant gear for rain or dust. Invest in a lens protector and keep silica gel packs in your bag.
FAQ
Do I need an expensive camera for great travel photos?
No, smartphones like the iPhone 14 or Google Pixel can produce stunning images with proper technique. Focus on composition and lighting over gear.
How do I edit travel photos without losing quality?
Use RAW format and edit in Lightroom or Snapseed, adjusting exposure and colors subtly. Avoid heavy filters that degrade image quality.
What’s the best time to shoot travel photos?
Golden hour (sunrise/sunset) offers soft, warm light for vibrant photos. Blue hour (twilight) is great for cityscapes with artificial lights.
How do I take photos in crowded tourist spots?
Shoot early in the morning to avoid crowds, use tight crops to exclude people, or embrace the crowd for lively, candid shots.
Where can I learn more about travel photography?
Online courses on Udemy or blogs like Digital Photography School offer great tips. Join local photography groups for hands-on practice.
Final Thoughts
Travel photography is about capturing moments that tell your story, from sweeping landscapes to fleeting smiles. These 20 tips—from chasing golden hour to respecting local cultures—will help you create images that resonate. Start small, practice often, and let your curiosity guide your lens. For more gear or inspiration, check out B&H Photo or National Geographic’s photography guides. What’s the one place you can’t wait to photograph? Grab your camera and start shooting—your next great photo is waiting!