Why Travel Photography Matters
Travel photography is more than just snapping pictures; it’s about preserving memories and telling stories of your adventures. As someone who’s fumbled with a camera on countless trips, I’ve learned that a great photo can transport you back to a moment—like the time I captured a vibrant Moroccan market at golden hour. Whether you’re exploring a bustling city or a serene mountain trail, these beginner-friendly tips will help you take stunning travel photos with ease. Let’s dive into practical, actionable advice to elevate your photography game.
Understanding Your Camera
Getting to know your camera is the first step to capturing amazing travel photos. You don’t need a fancy DSLR—your smartphone or a basic point-and-shoot can work wonders. Spend time exploring your device’s settings to unlock its full potential.
Smartphone vs. DSLR: Which Is Best for Beginners?
Smartphones are portable and user-friendly, while DSLRs offer more control over settings like aperture and shutter speed. For beginners, smartphones are often easier to start with. Whichever you choose, practice is key to mastering its features.
Learn the Basic Settings
Focus on three core settings: exposure, focus, and white balance. Exposure controls brightness, focus sharpens your subject, and white balance adjusts color tones. Experiment with these on your camera to see how they affect your shots.
Use Auto Mode Wisely
Auto mode is a lifesaver for beginners, adjusting settings to suit the environment. It’s great for quick shots in changing conditions, like a sunset on a beach. As you gain confidence, try manual settings for more creative control.
Mastering Composition
Composition is the art of arranging elements in your frame to create visually appealing photos. A well-composed shot can turn an ordinary scene into something extraordinary. These simple rules will help you frame your travel photos like a pro.
Rule of Thirds
Imagine dividing your frame into a 3×3 grid and placing your subject along the lines or at their intersections. This creates balance and draws the viewer’s eye naturally. For example, position a mountain peak off-center for a dynamic landscape shot.
Leading Lines
Use natural lines—like roads, fences, or rivers—to guide the viewer’s eye through the photo. I once used a winding path in a forest to lead toward a distant waterfall, making the shot more engaging. Look for lines in architecture or nature to enhance your compositions.
Framing Your Subject
Frame your subject with natural elements, like tree branches or doorways, to add depth. On a trip to Italy, I framed a distant cathedral through an archway, creating a postcard-worthy shot. This technique adds context and focus to your photos.
Avoid Clutter
Keep your frame clean by avoiding distracting elements like trash cans or crowds. Zoom in or adjust your angle to focus on your subject. A simple background makes your subject—like a vibrant street performer—pop.
Lighting: The Heart of Great Photos
Lighting can make or break a travel photo. Understanding how to work with natural and artificial light will transform your images. Here’s how to use light to your advantage.
Chase the Golden Hour
The golden hour—just after sunrise or before sunset—offers soft, warm light that enhances colors. I’ve found early mornings perfect for capturing misty landscapes without harsh shadows. Plan your shoots around these times for magical results.
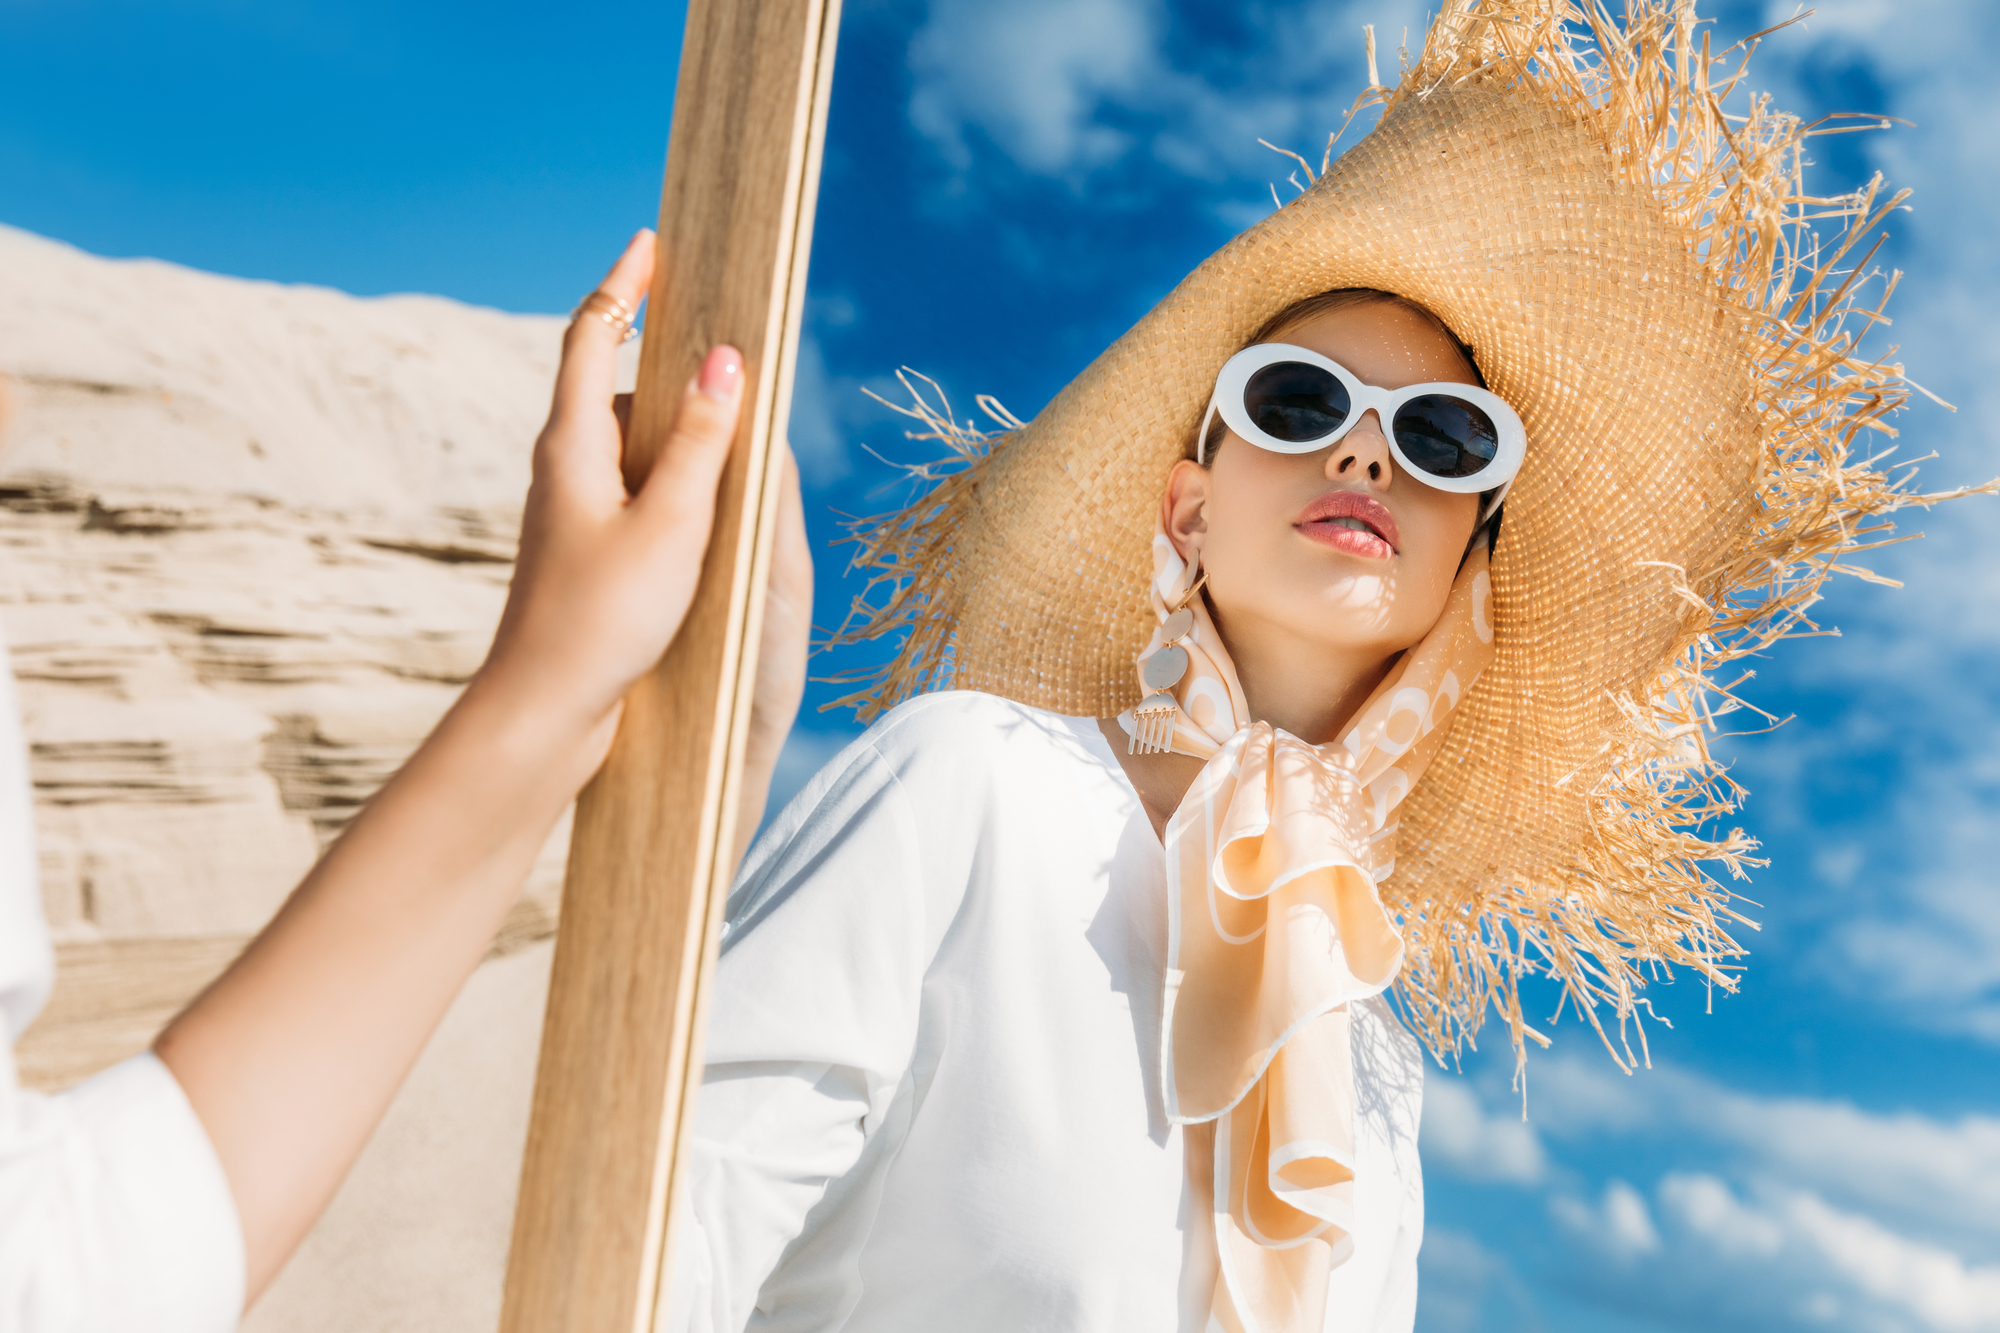
Avoid Harsh Midday Sun
Midday sun creates strong shadows and overexposed spots. If shooting at noon, seek shade or use a hat to diffuse light. For example, photographing a market under a canopy can soften the light and improve details.
Experiment with Backlighting
Backlighting, where the light source is behind your subject, creates dramatic silhouettes. Try shooting a person against a sunset for a striking effect. Adjust exposure to balance the light and keep details visible.
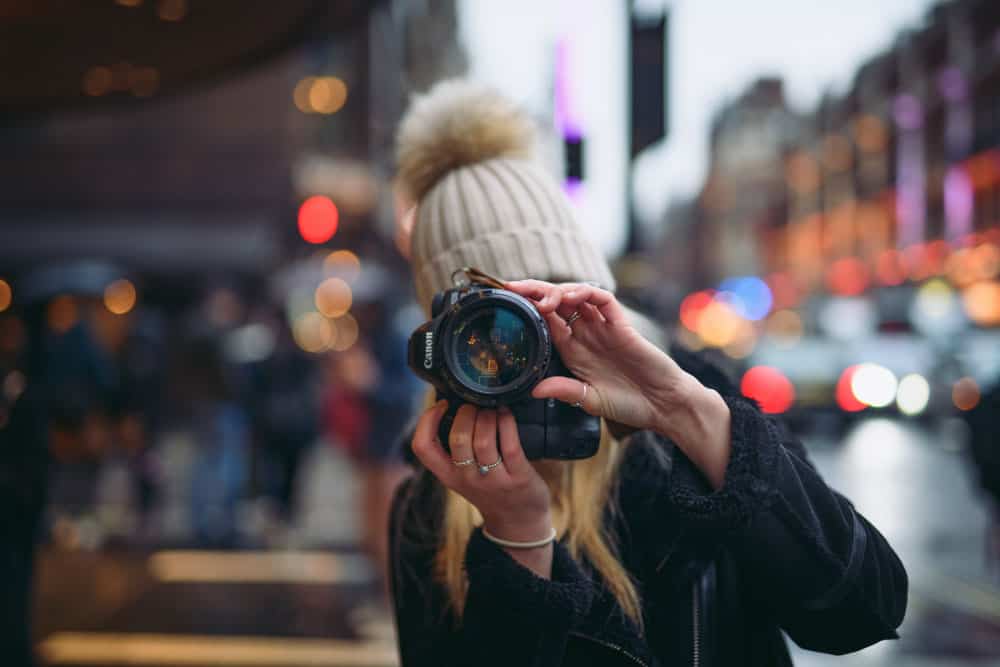
Use Artificial Light Sparingly
In low-light settings, like a cozy café, avoid using your camera’s flash—it can wash out colors. Instead, increase ISO or use ambient light from candles or lamps. This preserves the mood of the scene.
Capturing the Essence of a Place
Travel photography is about telling the story of a destination. Focus on elements that capture its unique culture, people, and landscapes. These tips will help you convey the spirit of your travels.
Shoot Local Life
Capture candid moments of daily life, like vendors at a market or kids playing in a park. In Thailand, I photographed a street food vendor tossing noodles in a wok, which screamed authenticity. Be respectful and ask permission when photographing people.
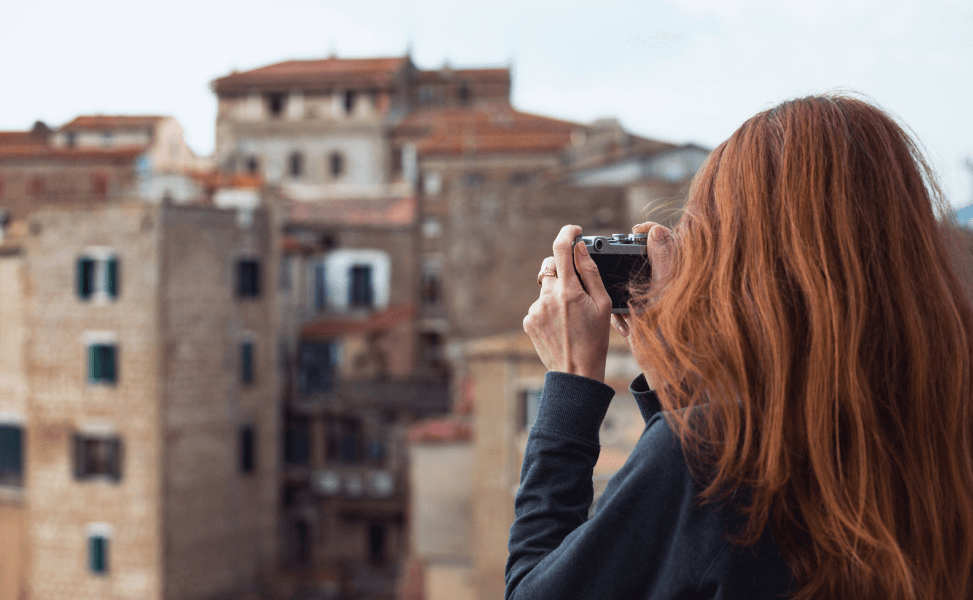
Include Iconic Landmarks
Landmarks like the Eiffel Tower or Taj Mahal are must-haves, but try unique angles. Shoot from a low angle or through a crowd for a fresh perspective. This makes your photo stand out from typical tourist snaps.
Focus on Details
Zoom in on small details—like a colorful tile pattern or a weathered door—to tell a deeper story. These shots add variety to your travel album. For instance, a close-up of a Moroccan spice pile added texture to my collection.
Tell a Story with Sequences
Create a photo series to show a journey, like a sunrise hike or a bustling festival. Arrange shots to show progression, from preparation to the main event. This adds narrative depth to your portfolio.
Editing for Impact
Editing enhances your photos without altering their authenticity. Simple tweaks can make colors pop and details sharper. You don’t need advanced software—free apps can do the trick.
Choose the Right Editing Tools
Apps like Snapseed, Lightroom Mobile, or VSCO are beginner-friendly and powerful. They offer sliders for brightness, contrast, and saturation. I use Snapseed for quick edits on the go, especially for vibrant landscapes.
Enhance, Don’t Overdo
Adjust brightness and contrast to balance light, but avoid over-editing, which can make photos look unnatural. For example, slightly boosting saturation can make a sunset glow without looking fake. Keep edits subtle for authenticity.
Crop for Better Composition
Crop to remove distractions or improve framing. If your subject is off-center, crop to align with the rule of thirds. This simple step can transform a cluttered photo into a masterpiece.
Save Originals
Always keep an unedited copy of your photos. If you over-edit, you can start fresh. I learned this the hard way after oversaturating a beach photo that lost its natural charm.
Gear and Accessories for Beginners
You don’t need expensive gear to take great travel photos, but a few affordable tools can make a big difference. Here’s what to consider packing.
Best Cameras for Beginners
| Camera Type | Price Range | Pros | Cons |
|---|---|---|---|
| Smartphone | $0–$1,000 | Portable, easy to use | Limited manual control |
| Point-and-Shoot | $200–$500 | Compact, good quality | Less versatile than DSLR |
| Entry-Level DSLR | $500–$1,000 | Full control, high quality | Bulkier, learning curve |
Essential Accessories
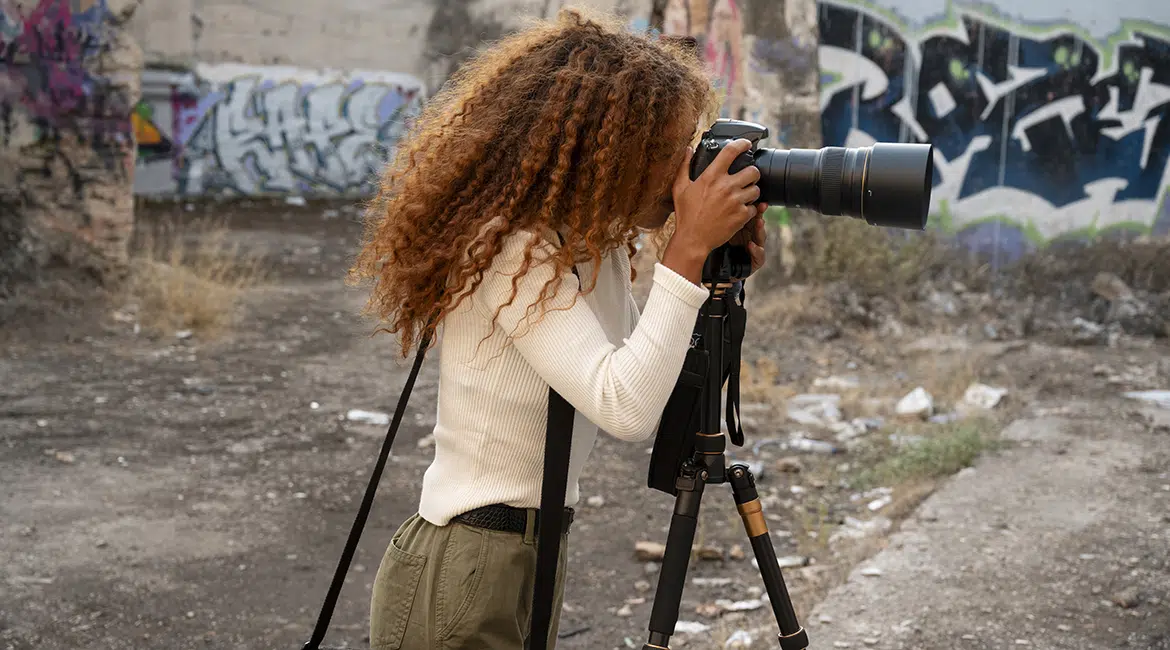
- Tripod: A lightweight tripod stabilizes shots for long exposures or group photos.
- Lens Cloth: Keep your lens clean for sharp images, especially in dusty environments.
- Extra Batteries: Carry spares to avoid missing shots on long days.
- Portable Charger: Essential for smartphones on extended shoots.
Where to Buy Gear
Check retailers like B&H Photo or Adorama for cameras and accessories. For budget options, try Amazon or local camera stores for deals.
Practical Tips for Travel Photography
These practical tips will help you navigate the challenges of shooting on the go. From packing light to staying safe, here’s how to make the most of your travel photography.
Pack Light
Carry only essential gear to stay mobile. A smartphone, a small tripod, and a lens cloth are often enough. I once lugged a heavy DSLR through Rome and missed candid shots because I was too weighed down.
Stay Safe
Keep your camera secure in crowded areas to avoid theft. Use a crossbody bag or a hidden pouch. Always back up photos to a cloud service like Google Photos to prevent loss.
Plan Your Shots
Research your destination to find photogenic spots. Apps like PhotoPills help plan shoots around sunrise or sunset. I used this to capture a stunning dawn over Machu Picchu.
Practice Patience
Wait for the right moment, like a flock of birds flying across a landscape or a street performer mid-act. Patience turned a dull beach photo into a vibrant one when dolphins appeared in the frame.
People Also Ask (PAA)
What are the best cameras for travel photography beginners?
Smartphones like the iPhone 14 or Google Pixel 7 are great for beginners due to their portability and advanced features. For more control, consider entry-level DSLRs like the Canon EOS Rebel T7 or Nikon D3500, available at B&H Photo.
How can I take better travel photos with my phone?
Use the rule of thirds, shoot during the golden hour, and edit with apps like Snapseed. Clean your lens before shooting, and experiment with angles to capture unique perspectives.
What settings should I use for travel photography?
Start with auto mode for ease, then try manual settings: low ISO (100–400) for bright conditions, f/8 for landscapes, and fast shutter speeds (1/250s) for moving subjects. Adjust based on lighting.
Where can I learn more about travel photography?
Explore online resources like Digital Photography School or National Geographic’s Photography Tips. YouTube channels like Peter McKinnon offer beginner-friendly tutorials.
FAQ
Do I need an expensive camera for travel photography?
No, a smartphone or point-and-shoot camera can produce stunning photos. Focus on composition, lighting, and editing to make your images stand out, regardless of gear.
How do I take clear photos in low light?
Increase your ISO (up to 800–1600) and use a tripod to stabilize your camera. Avoid flash, and rely on ambient light or a wider aperture (e.g., f/2.8) for better results.
What’s the best time to shoot travel photos?
The golden hour—shortly after sunrise or before sunset—offers soft, flattering light. Blue hour (just after sunset) is great for cityscapes with glowing lights.
How can I organize my travel photos?
Use apps like Google Photos or Lightroom to sort and tag images by location or date. Back up to a cloud service and delete duplicates to keep your collection manageable.
Are there free editing apps for travel photos?
Yes, Snapseed and VSCO are free, user-friendly apps for editing travel photos. They offer tools for adjusting brightness, contrast, and cropping to enhance your shots.
Pros and Cons of Smartphone vs. DSLR for Travel
- Smartphone Pros: Lightweight, always with you, intuitive apps, great for quick edits.
- Smartphone Cons: Limited zoom, less control in low light, smaller sensor size.
- DSLR Pros: Superior image quality, manual controls, versatile lenses.
- DSLR Cons: Bulky, expensive, steeper learning curve.
Final Thoughts
Travel photography is about capturing the heart of a place, from its vibrant markets to its quiet corners. With these beginner-friendly tips, you can create stunning photos that tell your travel story. I’ll never forget the thrill of capturing a sunrise over Santorini’s whitewashed buildings—it felt like I’d bottled the moment. Grab your camera, practice these techniques, and start building a collection of images you’ll treasure forever. For more inspiration, check out PetaPixel or try a photography workshop near you.